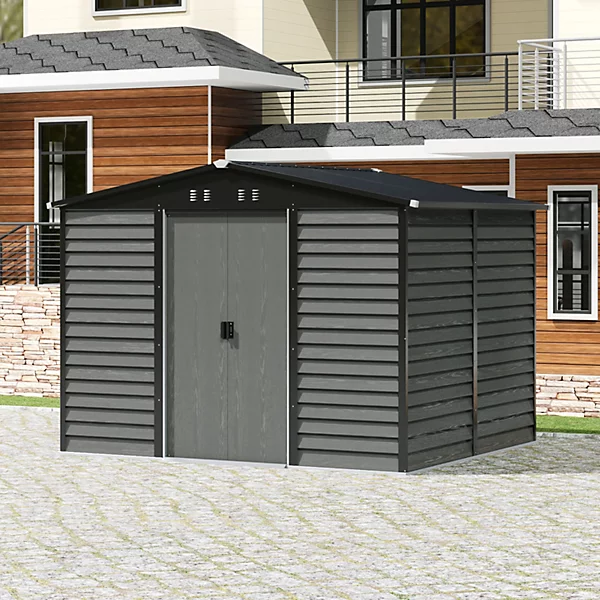
How to Build an Outsunny Metal Storage Shed
How to Build an Outsunny Metal Storage Shed

At first glance, you might assume that putting together an Outsunny Metal Shed is way too complicated for the average person, but that couldn’t be further from the truth. While other storage buildings require professional installation, our metal storage sheds can easily be assembled by anyone with basic Do-It-Yourself (DIY) skills because they are prefabricated. This means that all the panels are pre-cut and pre-drilled, so they are ready to assemble as soon as they get to your site.
SHEDMASTER being a garden buildings installation company would recommend anyone unsure about building a shed to opt for our professional installation services.
As easy as it is to assemble, building a metal storage shed will still require a little work and know-how. With that in mind, the following is a general overview of everything you need to know to construct your metal storage shed on your own.
Tools Required to Build a Metal Storage Shed
Before you can start putting your shed together, you need to make sure you have all the necessary tools. You’ll also likely need a ladder, a pair of protective gloves, and some other items as needed.
Step-by-Step Guide to Building Metal Storage Sheds
Our metal building kits come with a detailed instruction manual that provides the information you need to put them together. These are the general steps you will need to follow:
Ensure Your Base is Secure
First, make sure that you have a level and secure base for your shed. The foundation must be level so that your shed will sit evenly and not tilt to one side.
Construction & Affix the Base Frame
Start by assembling the base frame section by section. Once assembled, you’ll want to secure it to the base using screws. It’s critical that your measurements are correct and that everything is square and level before proceeding to the next step.
Build the Walls
Start by connecting two panels at a corner, ensuring the joints overlap, and secure them by screwing them together using the pre-drilled holes. As you put the walls up, you’ll need to insert your door runners into each end of your front framing to support your doors. After all your wall panels are connected, you’ll need to install the top panel framing. Once your frame is complete, you can affix it to the base frame using screws.
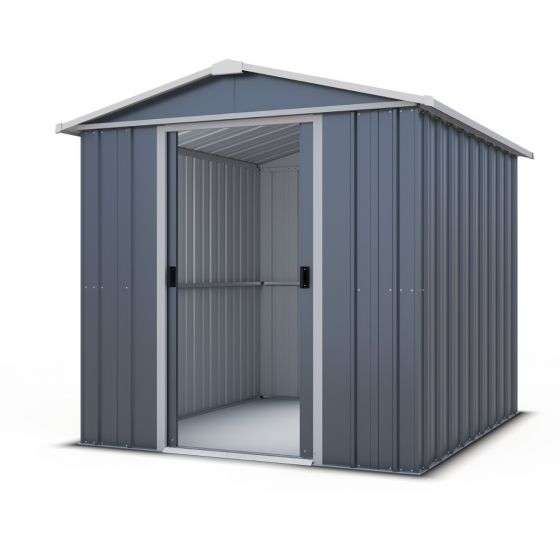
Add in the Roof Frame
The roof frame is made up of two rafters that connect to the wall panels at the top. The roof frame also has a ridge beam that runs along the length of the shed, connecting the two rafters at the top. Collect the pieces needed to build your roof frame and follow the instructions to connect the pieces to your wall framing. Once your roof frame is in place, you can begin installing your roof panels.
Affix Roof Panels
When installing your roof panels, make sure that there’s a slight overhang on each side. This will ensure that water doesn’t pool on top of your shed during rainy weather. Once your roof panels are in place, you can attach them to the roof beams and side framing. Then, install your corner caps, ridge cover, and ventilation plates.
Put the Doors in
You’ll need to assemble the doors by attaching the framing to each side of your door panels. Use nuts and bolts to secure your door handles and attach the door catches. Then insert your doors into the door runners and make any necessary adjustments.
If in doubt or require our installation services our installers are here to help at SHEDMASTER.
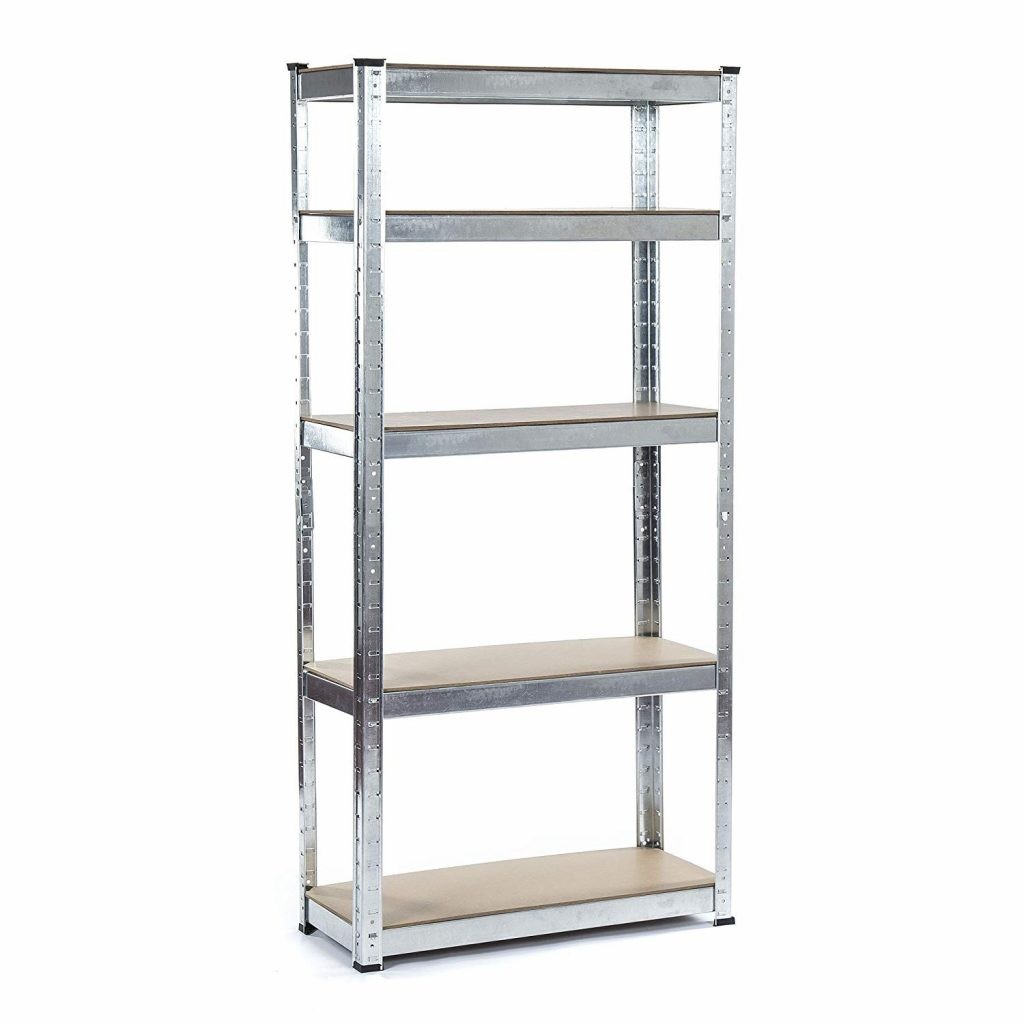
Options to Accessorize your OutSunny Metal Shed
Our fantastic range of high quality Racking and Shelving to accompany your shed or as a standalone item. We highly recommend the shelving units across all our ranges of Metal Sheds and Plastic Sheds. Industrial shelving, garage shelving and storage solutions.